
Tinysnap
A menu bar screenshot app for macOS. It captures, marks up, redacts and frames a screenshot, then puts it wherever you need it, with no account and nothing sent anywhere.
macOS 14 and upFree and open source, MITReleased, v1.1.0
brew install faizanashiq/tap/tinysnapThen press Command+Shift+2 and drag. The capture opens in the editor.
What it looks like
The editor, on a made up dashboard. Shapes stay editable, and the library keeps them that way for 30 days.
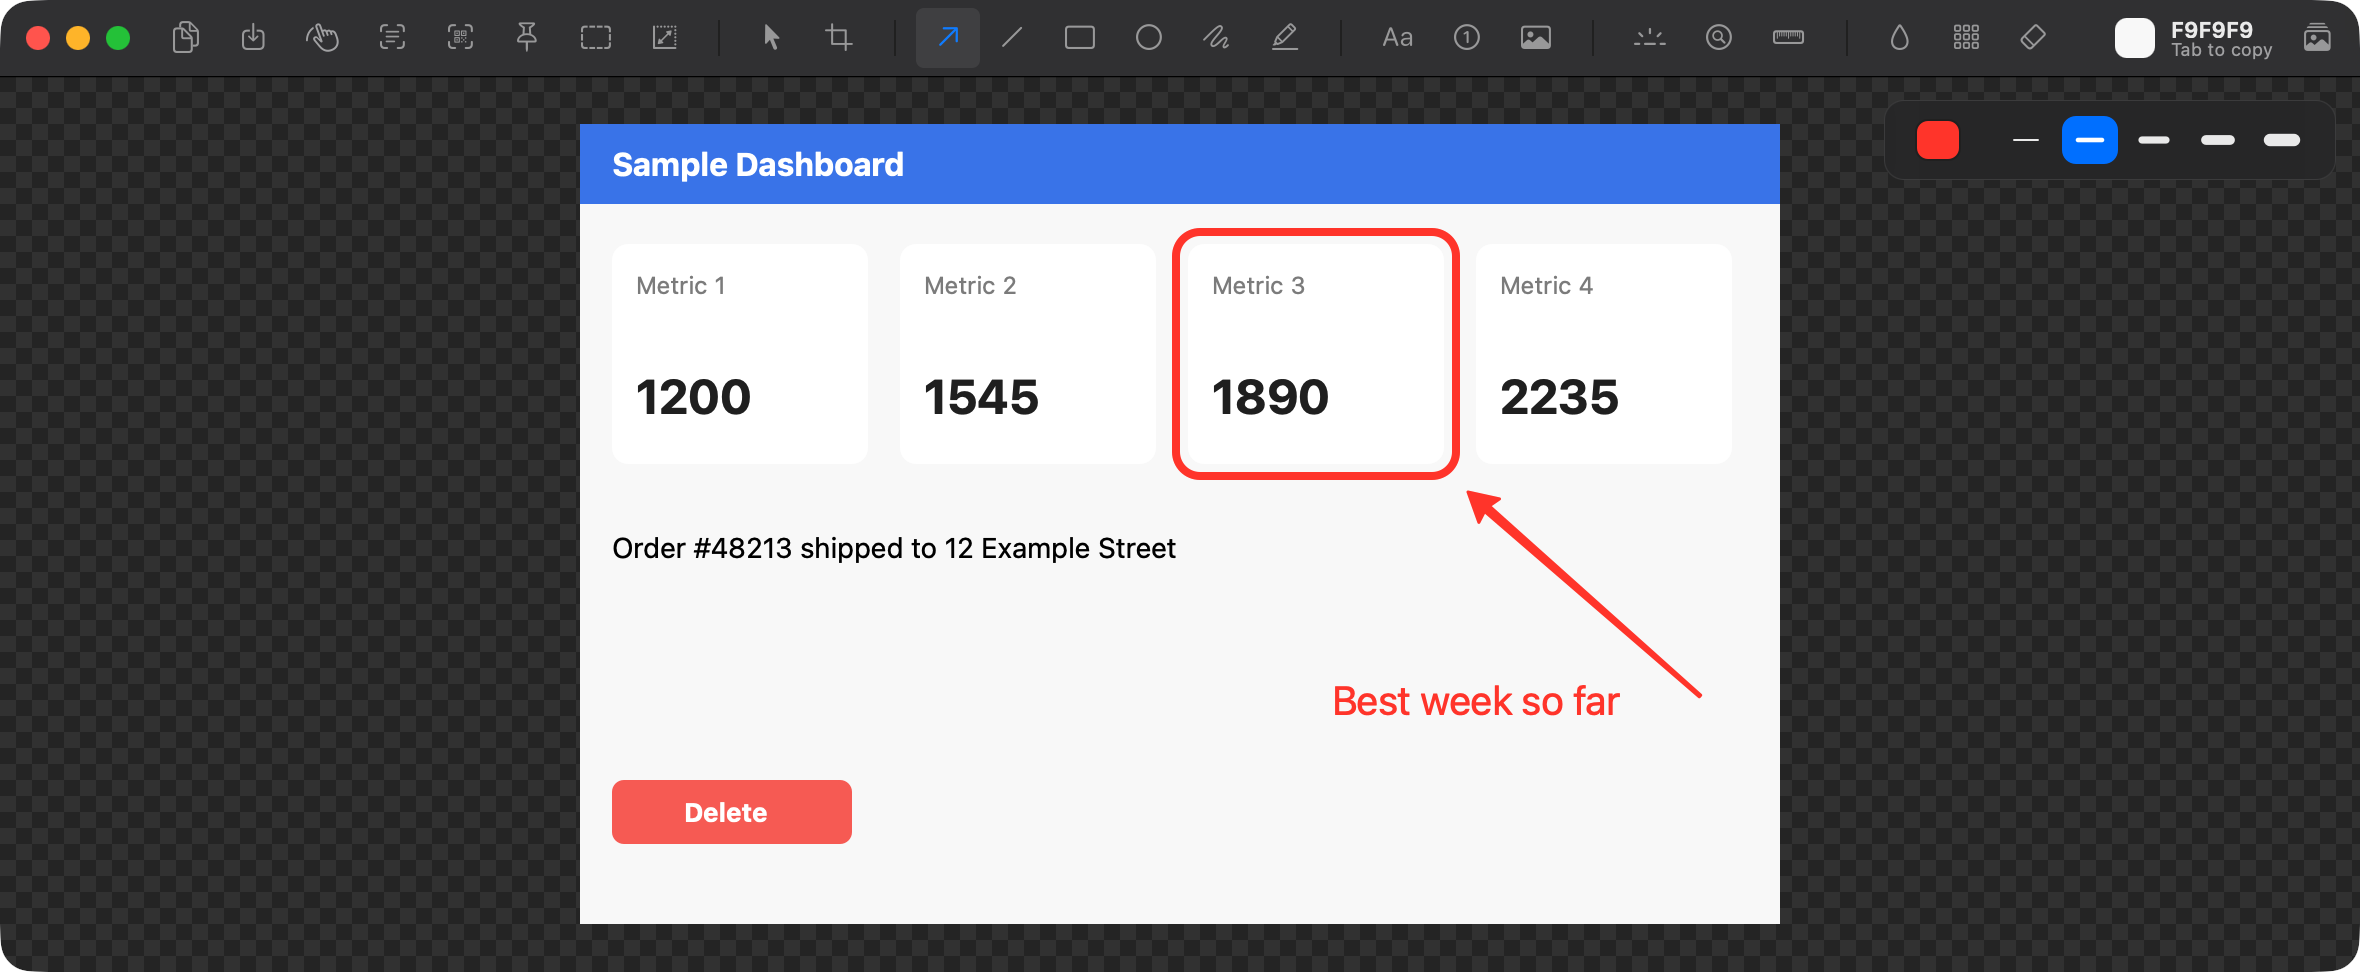
Point at what matters
Arrows, boxes, text, step numbers, a highlighter and a magnifier. Every shape stays editable: click its outline to move it or change its style.
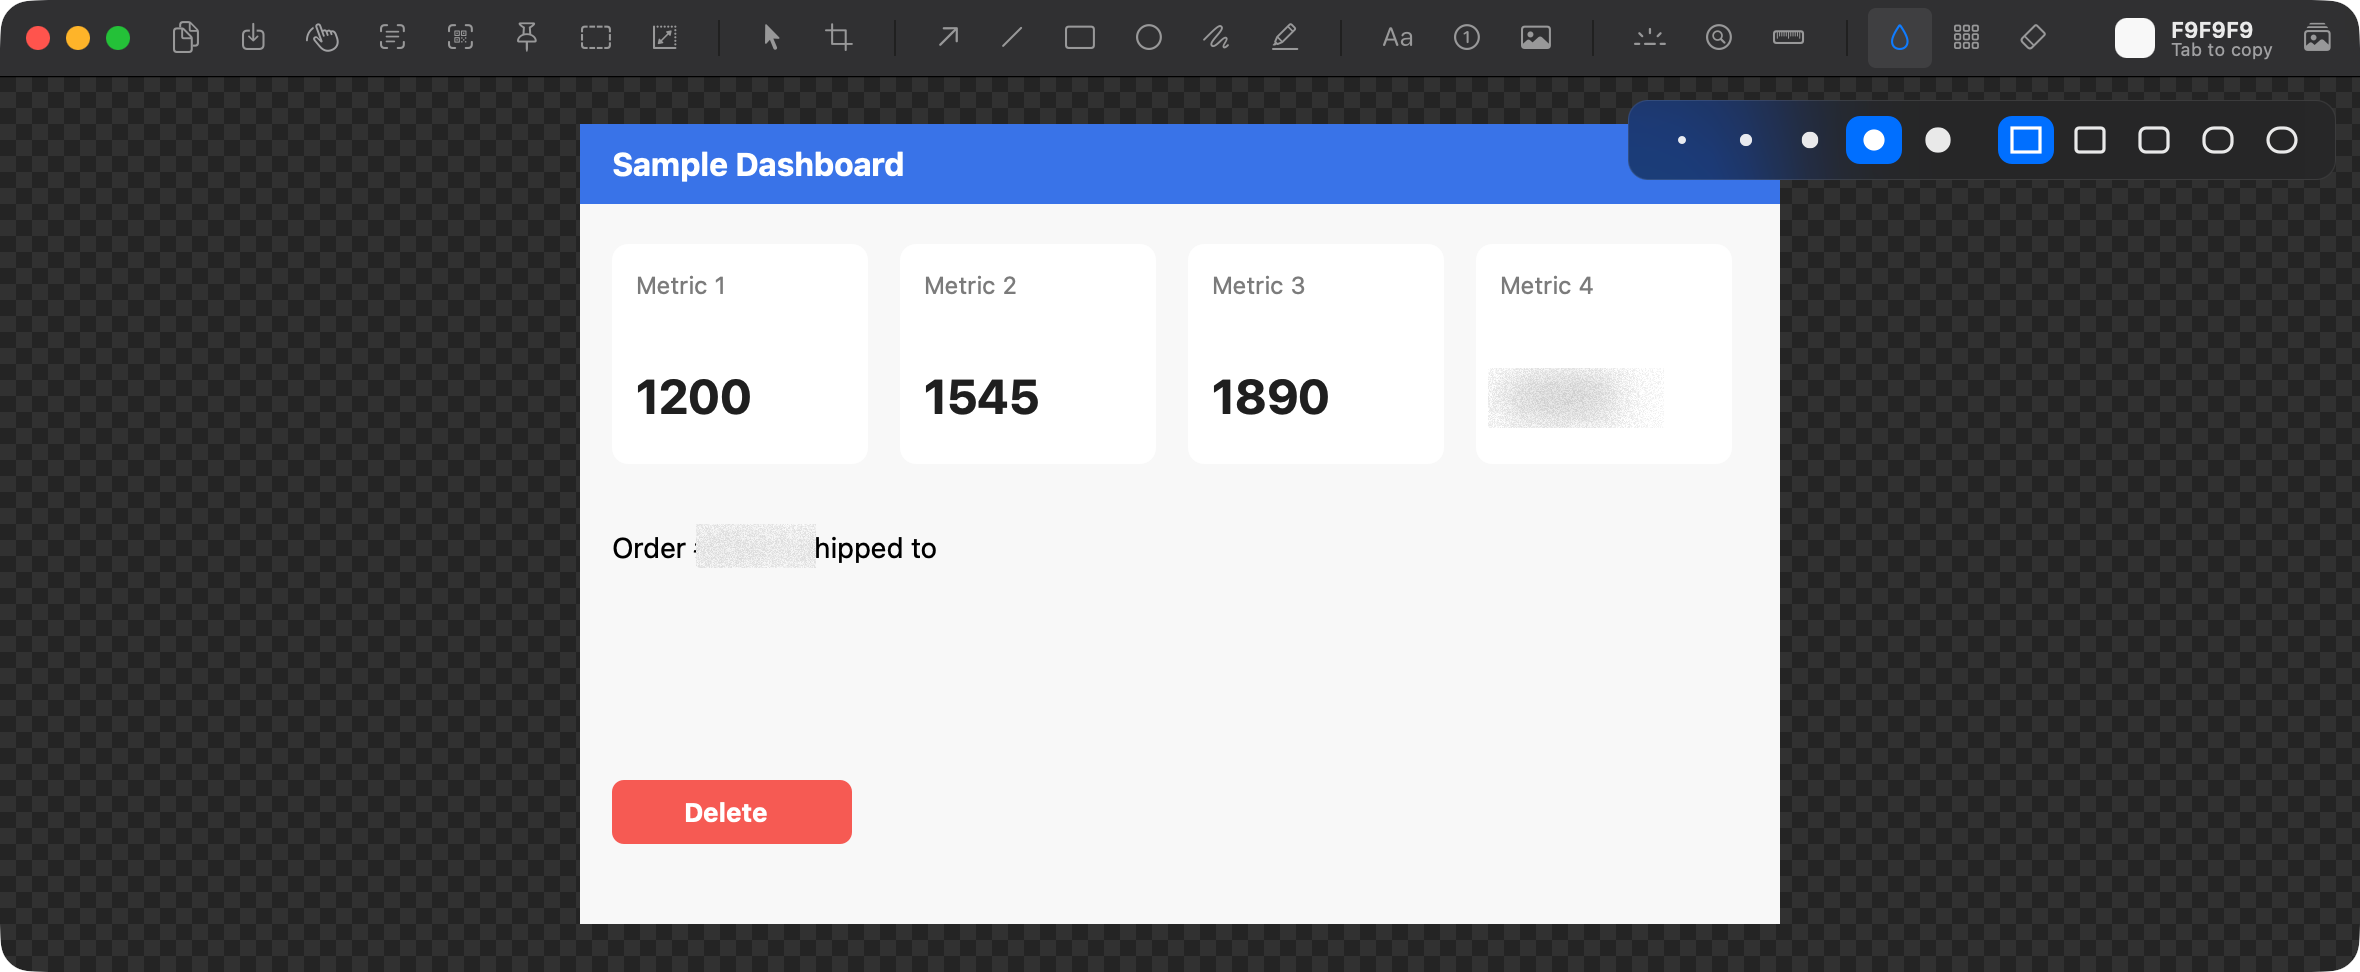
Hide what should stay private
Blur and pixelate soften a detail. Erase paints it over from the pixels around it, so nothing that was underneath survives in the image you share.
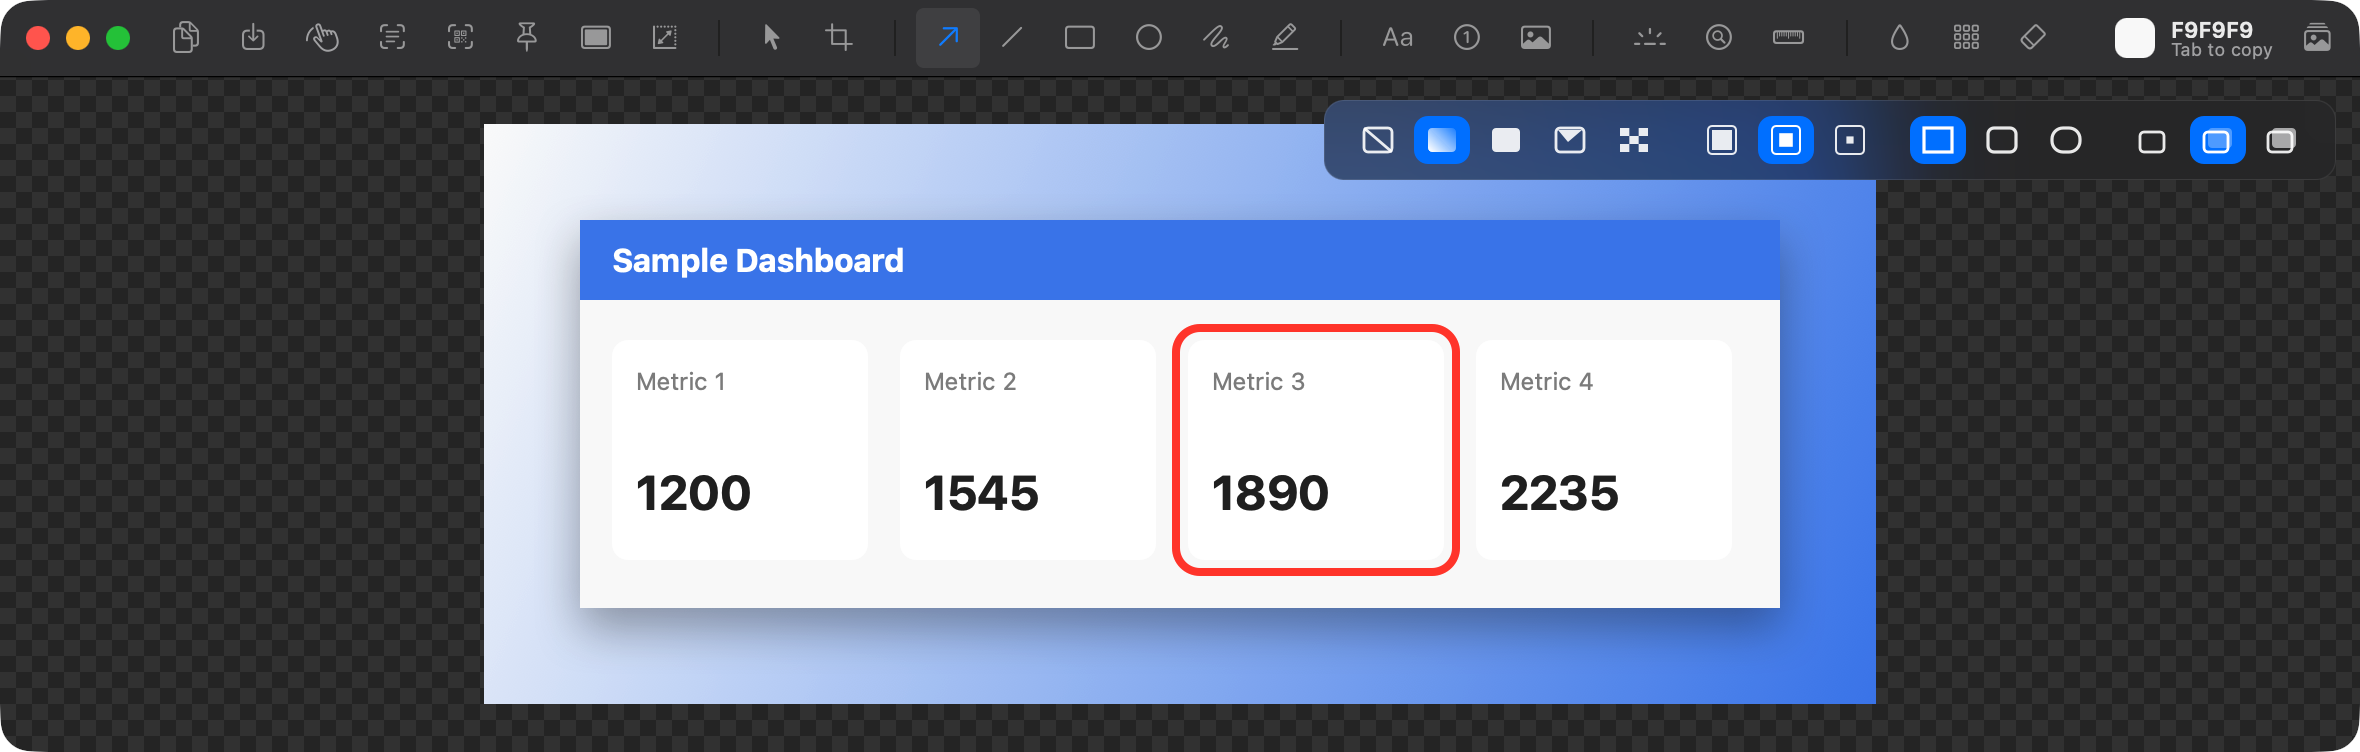
Frame it for sharing
A backdrop puts the capture on a gradient drawn from its own colours, a solid colour or your wallpaper, with round corners and a shadow. What the editor shows is exactly what gets copied.
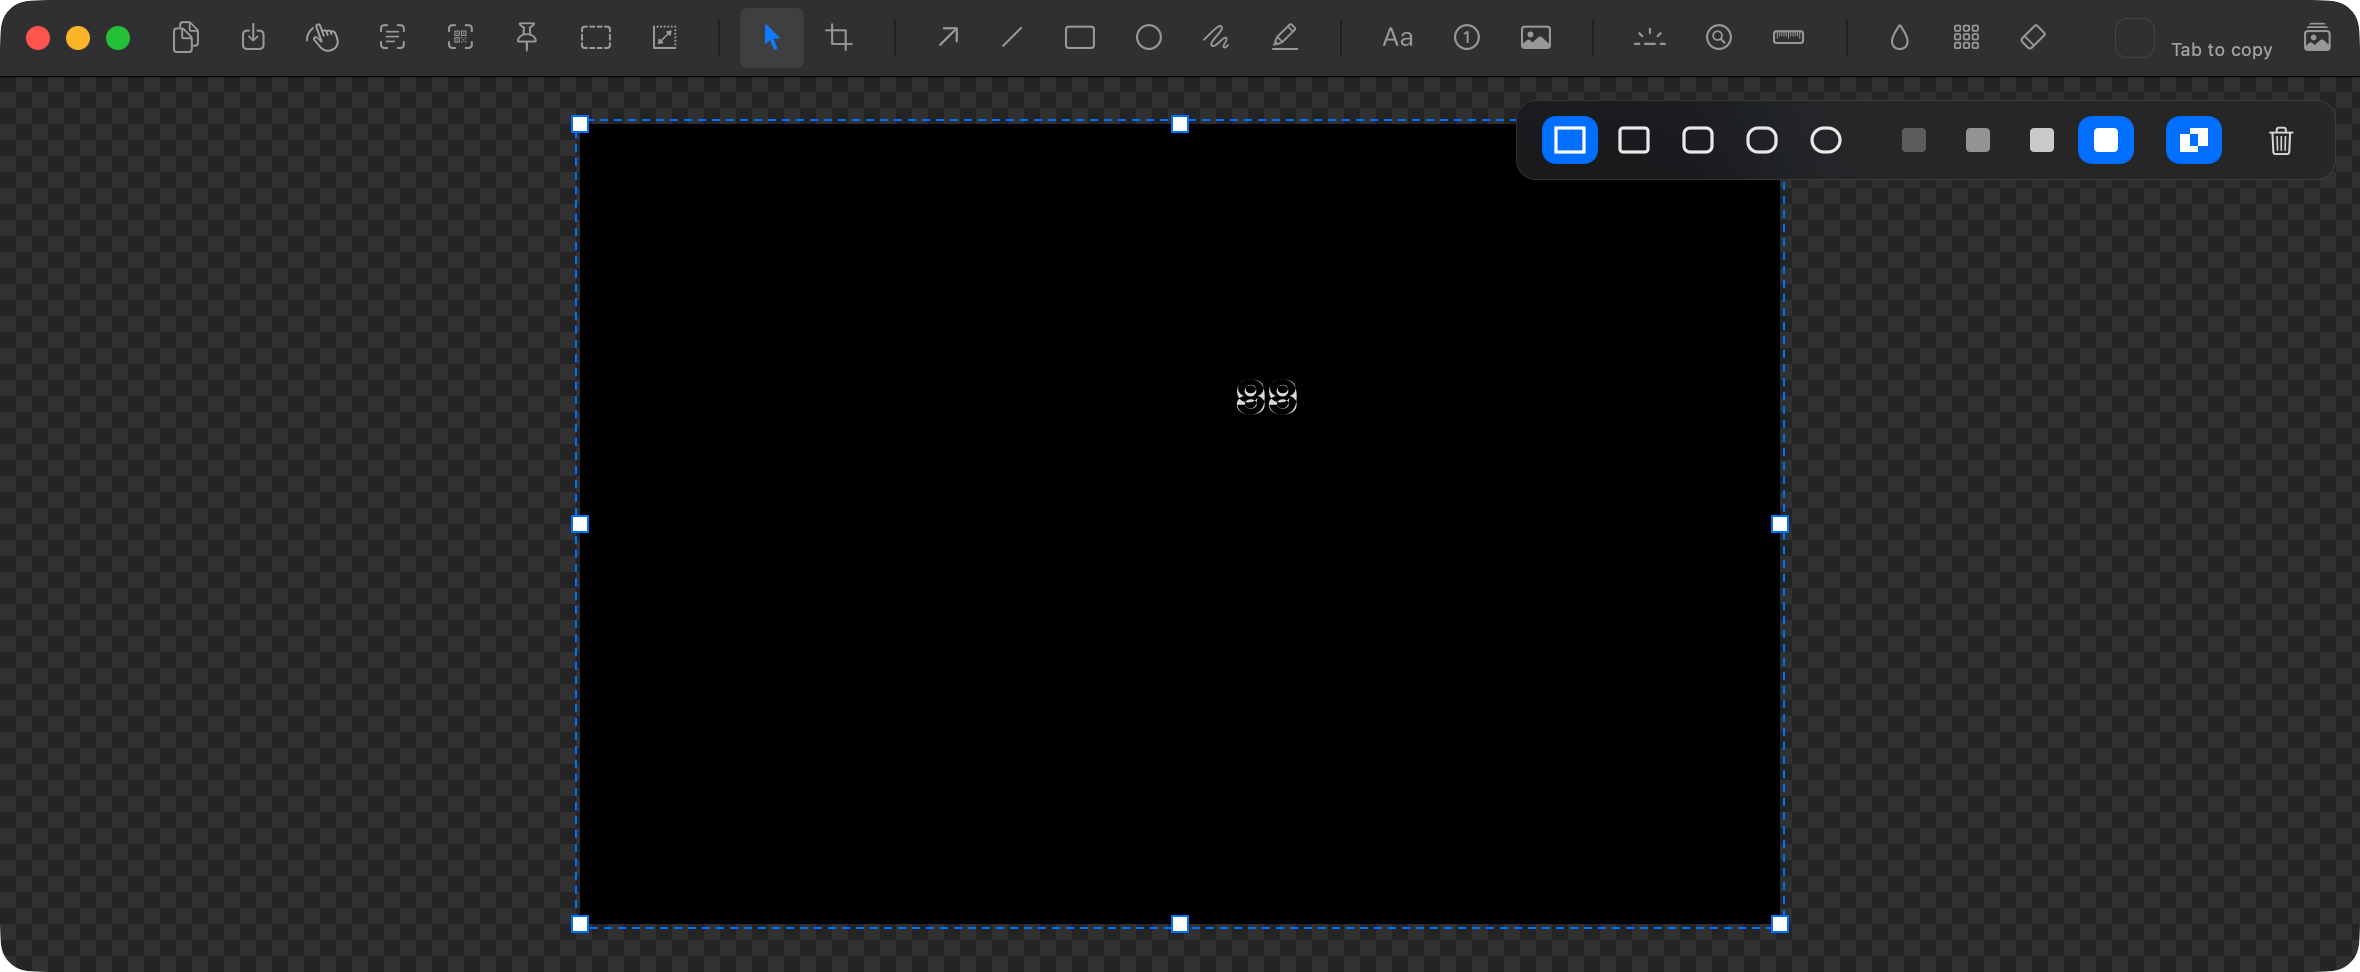
Spot what changed
Paste the next version over the capture and turn on Difference. Everything that matches goes black, so only the change is left.
What it does
An area, a window or the whole screen
Command+Shift+2 for an area, then Space to pick a window instead, which keeps its rounded corners and leaves its shadow out. Command+Shift+1 takes the whole screen. Shift squares the box and option draws it from the centre.
Seventeen tools, one key each
Arrow, line, box, oval, freehand, highlighter, text, step numbers, a spotlight, a magnifier, pasted images, a measure, crop, and three ways to redact. Each has its own letter, and the bracket keys make the one in hand thinner or thicker.
Measure in points
Point at a gap or a padding band and read its size in points, the unit your code is written in: across with X, down with Y. A click keeps the reading on the capture, and the arrow keys find fainter edges when a card is only a shade off the page.
Nothing is flattened while you work
Click the outline of a shape, or anywhere on a blur or a piece of text, to move it or restyle it, whatever tool is out. Hold Command to see the border of everything you have drawn.
Copy, save, pin or drag
Command+C copies and Command+S saves, each with a tick to say it worked. The drag handle drops the image straight into another app. Command+P pins it above every app, where scrolling resizes it and the number keys fade it.
Export at the size you need
The Size button picks 25, 50, 100 or 200%, or an exact width or height in pixels with the shape kept. The capture remembers it, so every copy, save, drag and pin comes out at that size, and 100% is one click back.
Copy the text, or scan a QR code
Command+Shift+O captures an area and puts its text on the clipboard, read row by row even across columns. In the editor, drag over just the part you want and keep working. Scan QR Code copies what a code holds, from the menu bar or the editor.
The last 30 days, still editable
Every capture is kept for 30 days with its annotations, so you can reopen one and carry on. Hover one to copy, save or edit it, Space previews it, and Settings turns the library off if you would rather it did not.
A thumbnail instead of the editor
If you would rather keep working, a capture can wait as a thumbnail in the corner of the screen. Click it to edit, drag it into an app, or leave it and it slides off into the library.
Room for a note outside the picture
Draw past the edge of a capture and the canvas grows with it, filled with the capture’s own edge colour, so a label can sit beside the screenshot instead of on top of it.
What you can rely on
A screenshot often holds something private, so it matters exactly what is kept and what is shared.
Erase is the redaction to trust
Blur and pixelate can be partly reversed by someone determined. Erase replaces the pixels outright, so use it for a password, a card number or an address.
The library keeps what is under a blur
That is what makes a capture editable later. The images you copy and save never contain it, and Settings can turn the library off or clear it.
What you see is what gets exported
One renderer draws both the editor and every export, so a copied image is what the editor showed you, backdrop and all.
Nothing leaves your Mac
No account, no analytics, no crash reporting and no network request of any kind. Captures and settings are plain files in your own Library folder.
Permissions
Screen Recording is the only permission Tinysnap ever asks for, and it asks the first time you capture, not on launch. It never asks for Accessibility, the permission to control your computer. Nothing is collected: no account, no analytics, and no network request of any kind.
Questions
- Why does it need Screen Recording?
- Reading what is on the screen is what a screenshot is, and macOS offers no narrower permission for it. Tinysnap asks the first time you capture, not when it launches, and it never asks for Accessibility.
- Why does macOS keep asking about screen recording every month?
- Because macOS 15 asks that of every app that reads the whole screen instead of going through the system picker. The wording mentions recording and audio: Tinysnap captures neither. It takes one still frame when you start a capture, and nothing leaves your Mac. Choose Allow For One Month and it stays quiet until next month.
- Is blur safe for a password?
- No. Blur and pixelate can be partly undone by someone determined. Erase fills the box from the pixels around it, so nothing of what was underneath is left in the image you share.
- Where do my captures go?
- Wherever you send them: the clipboard, the save folder, which is the Desktop until you change it, or a pin. The library also keeps each one for 30 days in Application Support, and you can turn that off.
- Does it collect anything?
- No. No account, no analytics, no crash reporting, and no network request of any kind. Your settings sit in a plain file on your Mac that you can read and edit yourself.
- Why does the install command have my name in it?
- Tinysnap ships from my own Homebrew tap, and the prefix is how Homebrew knows which tap to read. Homebrew’s own list carries prebuilt downloads, and Tinysnap is built from source on your machine instead. It stays one command, and brew upgrade picks up new versions like anything else.
- Why does it build instead of downloading?
- Because the source is the thing being shipped, so what runs on your Mac is compiled from the code in the repository you can read. It also launches straight away: macOS quarantines downloaded apps and would send you to System Settings to approve one first. The trade is about half a minute on install rather than a second.
- Will it ask for Screen Recording again after an upgrade?
- It can. macOS ties the permission to the exact build it was granted to, and an upgrade produces a new one. Homebrew prints two commands after installing that give every build on your Mac the same signing identity. Run them once and the permission carries across upgrades.
- Is there a Windows version?
- Not yet. A Windows version is in the works, and this page will say when it is ready.
Something capturing wrong, or an idea for it, email me.