Tinypen
Draw on your screen, on Mac and Windows. Circle, point, highlight and spotlight while you present, teach or share your screen, then erase it all with Esc, with no account and nothing sent anywhere.
Mac and WindowsFree and open source, MITReleased, v1.0.0
Install
macOS 14 Sonoma or later, on Apple silicon or Intel
- 1Open the download and drag Tinypen into Applications.
- 2Open Tinypen. macOS says it cannot check it for malware, as it does for any app not signed with a paid Apple developer account. Open System Settings, Privacy & Security, click Open Anyway and confirm. You do this once.
- 3Tinypen appears in the menu bar.
- 4Press Option+Shift+D and draw on anything. Esc erases what you drew, and Esc again puts the pen away.
Windows 10 or 11
- 1Put the download somewhere it can stay, and run it. If SmartScreen warns about an unknown publisher, click More info, then Run anyway.
- 2Tinypen waits in the tray, by the clock.
- 3Press Ctrl+Shift+D and draw on anything. Esc erases what you drew, and Esc again puts the pen away.
Get started
1Start drawing
Press Option+Shift+D on a Mac, or Ctrl+Shift+D on Windows. The toolbar appears at the top of the screen and the pen is in your hand: drag anywhere to draw.
2Pick a tool
Press its letter: P for the pen, H for the highlighter, A for an arrow, R for a box, W for a white or black board. 1 to 6 pick a colour, and [ and ] make the line thinner or thicker.
3Point without drawing
L for a laser that fades behind the pointer, S for a spotlight, Z for a zoom lens. Your clicks go through to the app underneath, and holding Option, or Alt, while you scroll makes the spotlight or the lens bigger or smaller.
4Erase and stop
Esc erases everything you drew, and Command+Z, or Ctrl+Z, brings it back. Press Esc again with nothing drawn and every tool goes away. The drawing hotkey stops drawing and leaves your marks up.
What it looks like
On a made up dashboard. Every mark is drawn by the same code that draws it on your screen.

Draw on anything
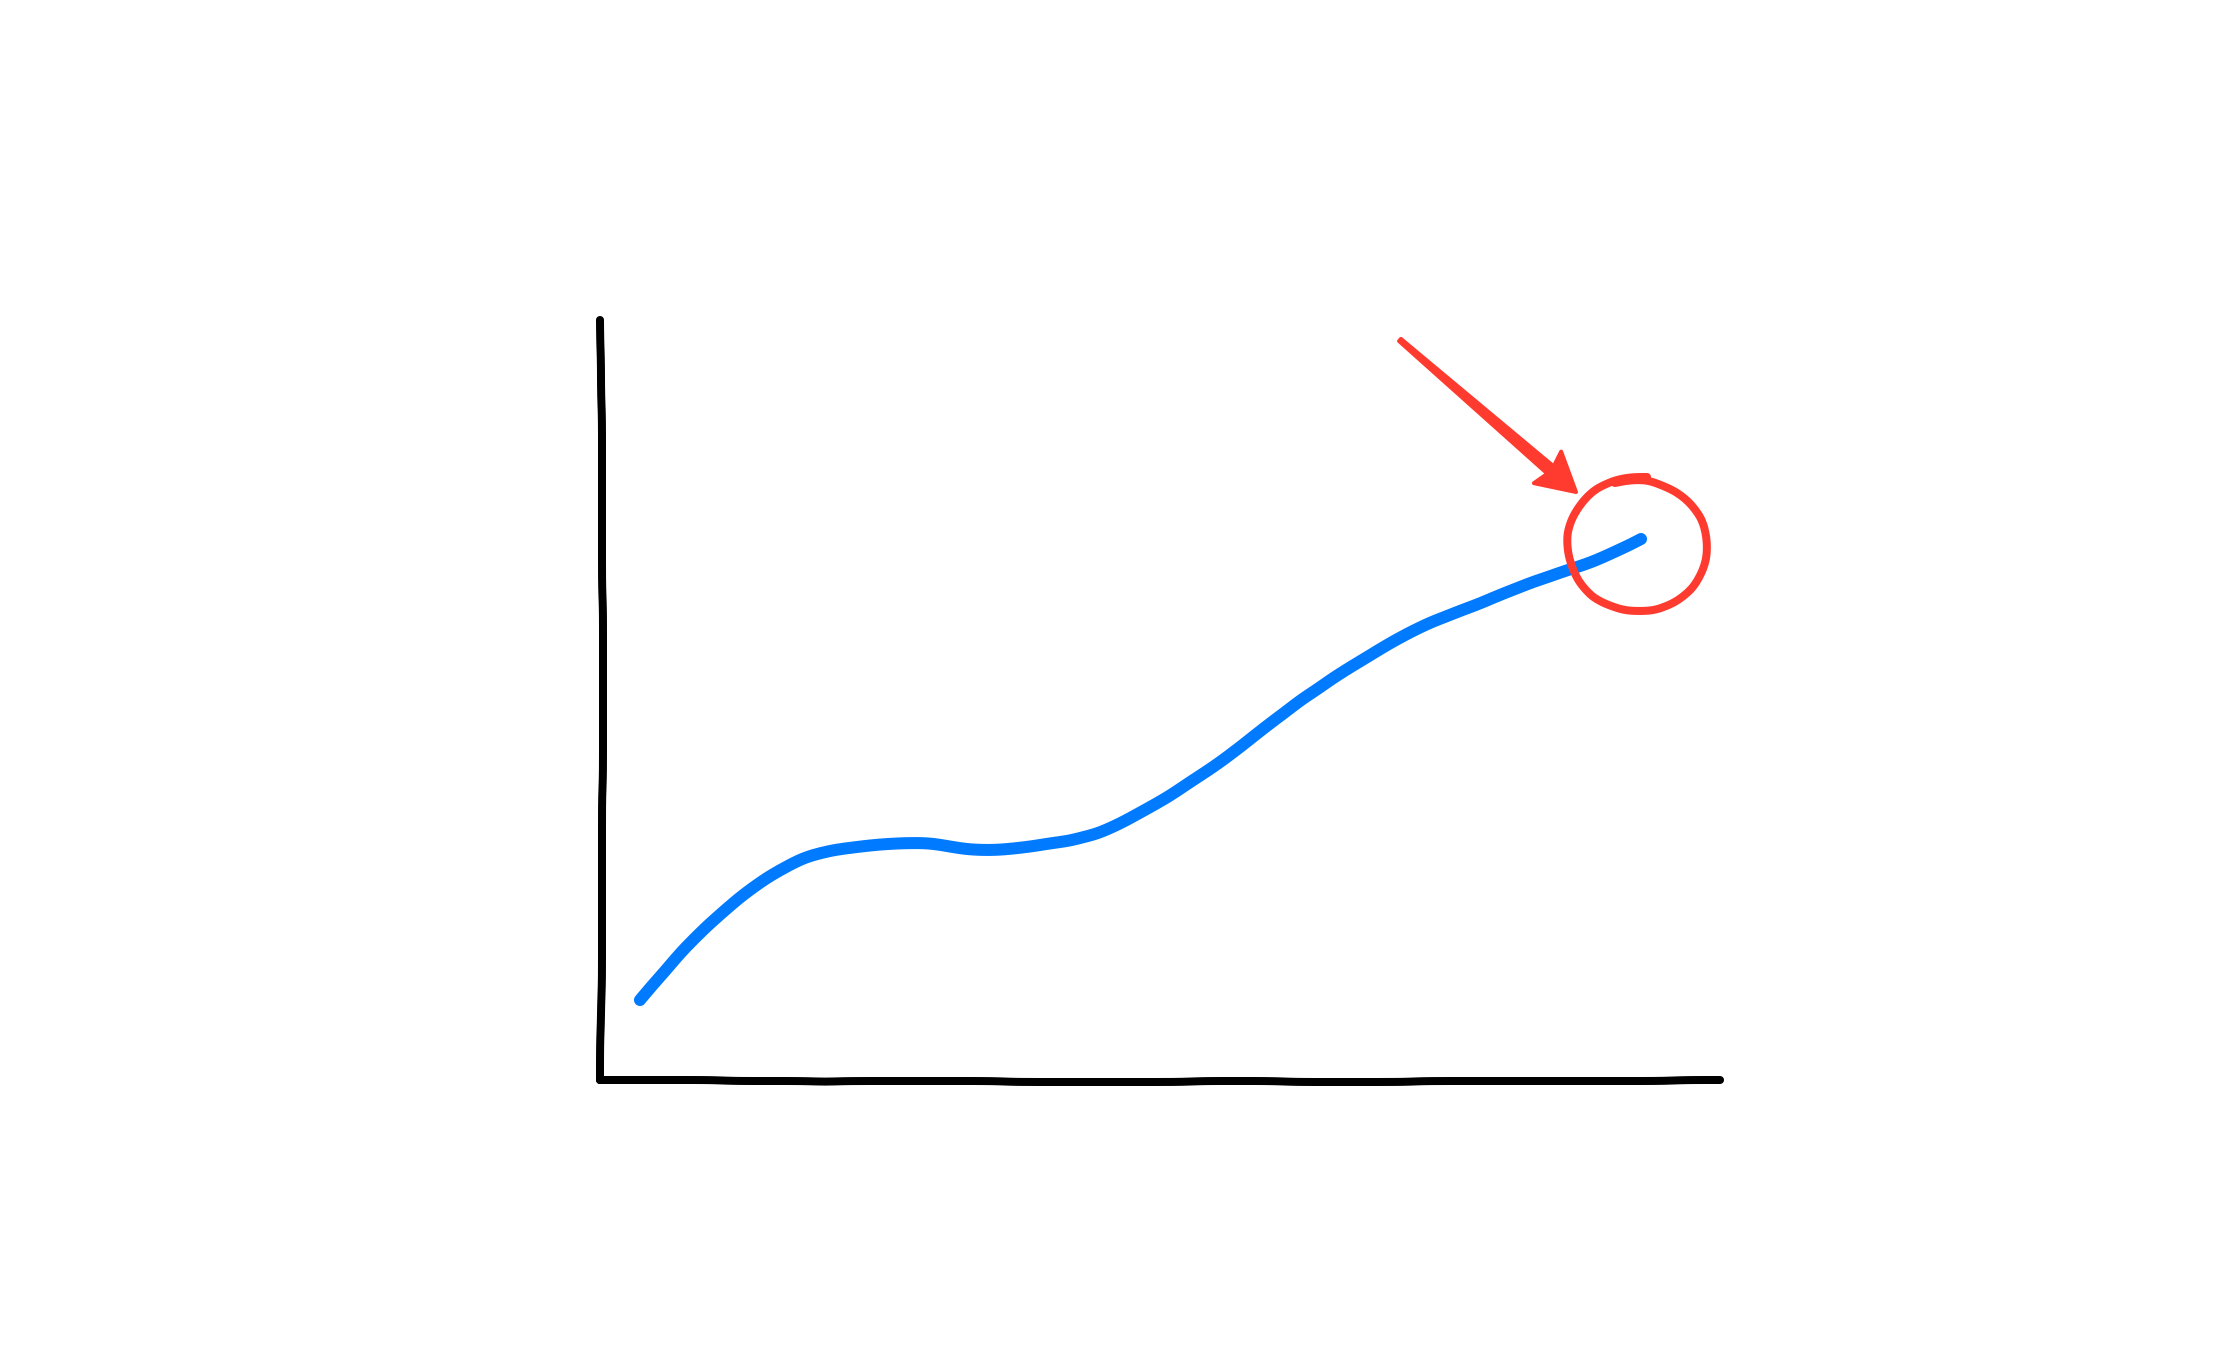
Circle the number that matters and point at it, over any app or slide. Strokes come out smooth, with no steps however slowly you draw.

Highlight, box and underline
The highlighter lets the text show through, a box frames a card, and the pen underlines what you are saying.

A spotlight on what you are talking about
Everything else dims, and the spotlight follows the pointer. Hold Option and scroll to make it bigger or smaller.
A board to sketch on
W puts a white board over the screen, then a black one, to sketch an idea from nothing. Your marks on the screen wait underneath.
What it does
Keys are written as on a Mac. On Windows, use Ctrl for Command and Alt for Option.
Pen, highlighter, arrow and box
Each on its own key. Hold Shift to keep an arrow to 45 degrees or a box square. The highlighter lets what is under it show through, and never darkens where a stroke crosses itself.
A laser, a spotlight and a zoom lens
For pointing at things without drawing on them. Your clicks go through to the app underneath, however you switched them on. Hold Option and scroll to size the spotlight or zoom the lens.
Any colour
Six colours on the keys 1 to 6. The colour button on the toolbar also takes any colour or a hex code, and keeps the last three you picked beside the six.
Esc does what you expect
The first press erases everything you drew, on the screen and on the board, and undo brings it back. The next press switches every tool off.
Scroll while you draw
Scrolling goes to the page under your drawing, so you can move on through a document. Half a second after you stop, the next click draws again.
A toolbar you can move
Drag it by its edge to wherever it is out of the way, and it comes back there next time.
Hotkeys you choose
Drawing, the laser, the spotlight and zoom can each have a hotkey of their own. Change or clear them in Settings on a Mac, or in the settings file the tray opens on Windows.
What you can rely on
Whatever you present sits under Tinypen, so it matters exactly what it can see and what it keeps.
Nothing leaves your computer
No account, no analytics and no crash reporting. Tinypen makes no network request at all, and your settings sit in a plain file on your computer.
Your keys stay yours
Tinypen takes the keys it uses only while something of it is on screen. The rest of the time it holds just its hotkeys, and every other key goes to your apps.
Permissions
On a Mac, Tinypen asks for Screen Recording only for the zoom lens, and only the first time you use it. Drawing, the laser and the spotlight need no permission, and it never asks for Accessibility, the permission to control your computer. On Windows it asks for nothing. Nothing is collected anywhere: no account, no analytics, and no network request at all.
Questions
- Why does zoom ask for Screen Recording on a Mac?
- The lens shows a magnified picture of the screen, and macOS offers no narrower permission for reading it. Tinypen asks the first time you use zoom, and drawing, the laser and the spotlight never need it.
- macOS says it cannot check Tinypen for malware. What now?
- Tinypen is free and not signed with a paid Apple developer account, so macOS asks you to confirm it once. Open System Settings, Privacy & Security, click Open Anyway beside Tinypen and confirm.
- Are my drawings saved?
- No. They stay on screen until you erase them or quit, and nothing is written anywhere.
- How do I update?
- Download the newest version from the release page and put it in place of the old one: in Applications on a Mac, or where the old file was on Windows.
- How do I remove it?
- On a Mac, quit it from the menu bar and drag it from Applications to the Bin. On Windows, turn off Open at login in the tray menu, quit it, and delete the file.
- Is there a Linux version?
- Not yet. Tinypen is built natively for each system, and Linux comes after Mac and Windows.
Something drawing wrong, or an idea for it, email me.